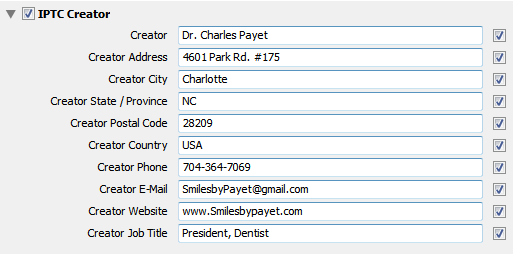
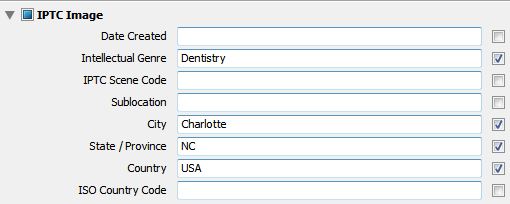
It’s the beginning of a new year, and if you haven’t already done so, it is time to create a new set of folders for 2013, and time to create a new Metadata Preset to be applied on import of all your photos. Otherwise, you’ll be adding outdated metadata to your images and making your photo catalog less organized. One side benefit of updating your Copyright Info in the Metadata Preset is this: if you upload any of those photos to your website, Google+ Local Page, Facebook Fan Page, etc., Google will recognize the year and know that it is new, fresh content. And Google LOVES fresh content on websites!
Don’t forget to check out the short video tutorial at the bottom of the page, too!
Create A New Year Folder with Sub-headings
I’ve already discussed how I recommend organizing your Folder Hierarchy, and that hasn’t changed, although I changed a couple folder names this year, as you can see in this screenshot. You can tell I did it before the end of 2012, as there wasn’t a single photo loaded into this year yet.
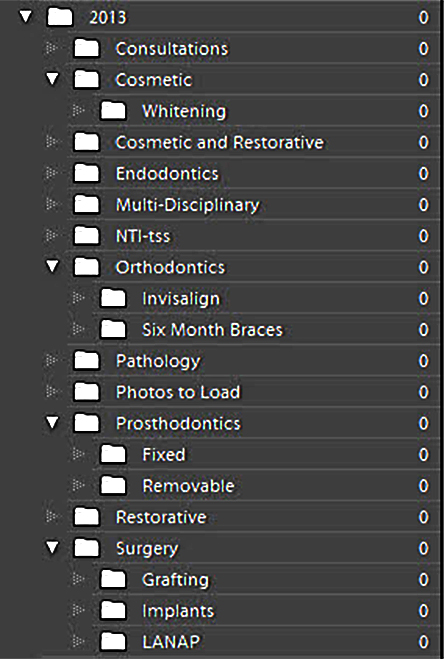
Of course, this is completely customizable depending on your procedure mix and desire to separate, or not separate them out as much as I do.
Create a New Copyright Metadata Preset for Import
To help protect your photos from online theft and misuse, make sure you read Image Copyright Protection; and now it’s time to create a NEW Metadata Preset. Please DO NOT just “update” the one that you have; if you do so, every image to which you had applied the old one, i.e. for 2012, will now suddenly read as if it were taken in 2013 instead, which is wrong. CREATE A NEW PRESET!
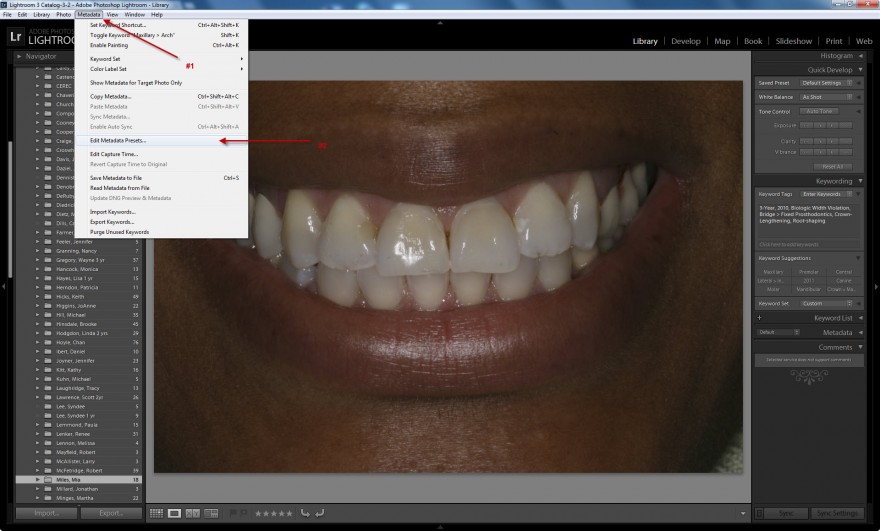
To do so, you must first be in the Library Module, then go to “Photos > Edit Metadata Preset” and you’ll come to this screen, and you can just enter the appropriate data for your practice. As you can see at the bottom, in the box labeled “Keywords,” I’ve added just one keyword – 2013. This is just to avoid having to add it to every photo.
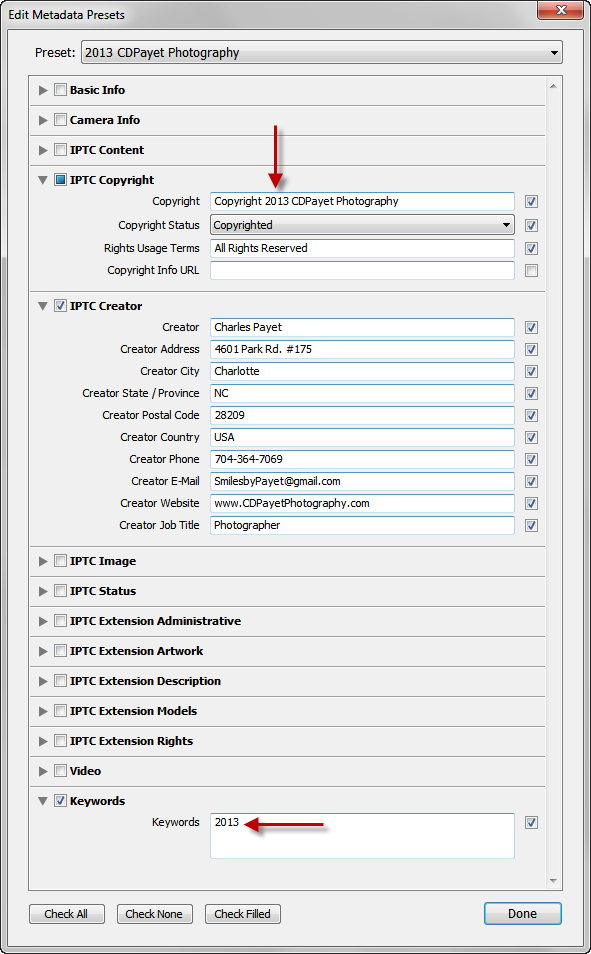
And you’re set to go!
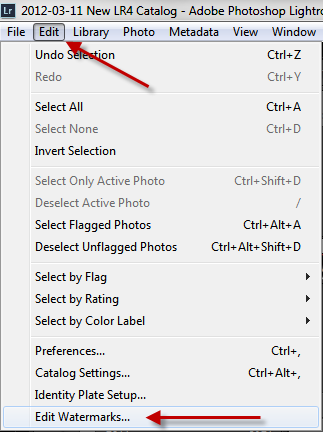 Step 1: Go to the Edit option on the top menu, then scroll down to “Edit Watermarks”
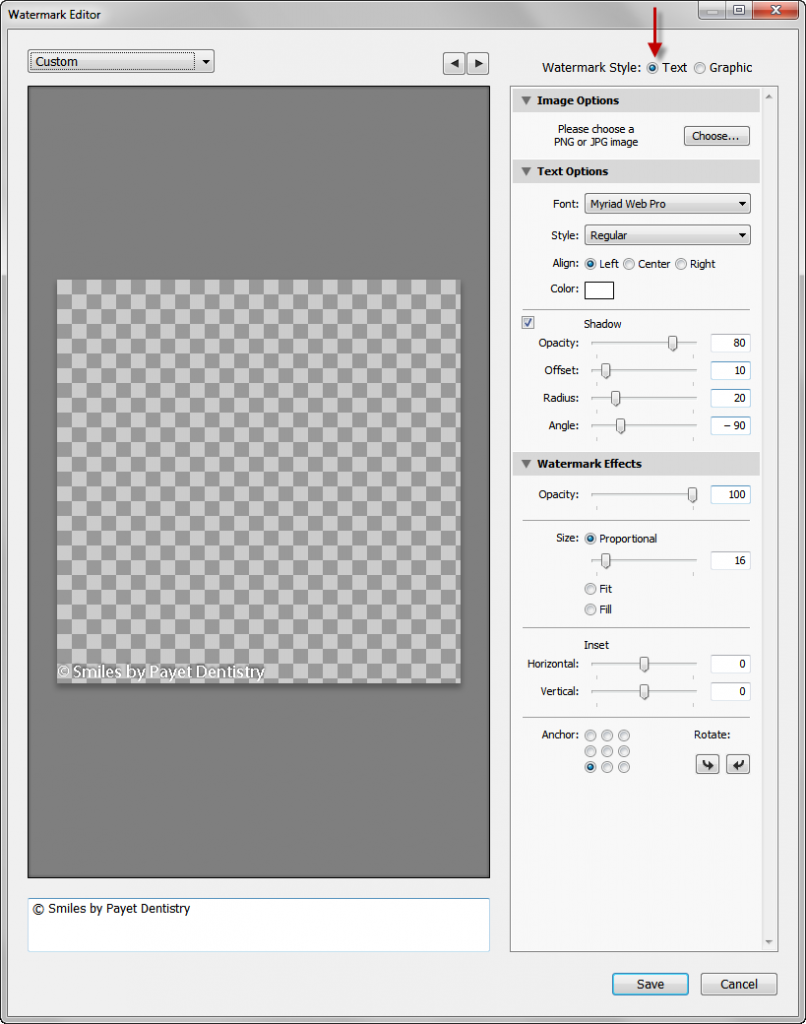
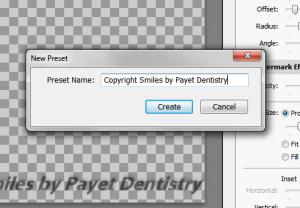 Step 4: Name Your Preset
 To my knowledge at this time, I’ve never had any of my online photos “stolen,” by which I mean no one has downloaded or “hot-linked” them for use on their on website or in other marketing media. That’s not to say it hasn’t happened, it just means I’ve never found any examples, because I don’t spend the time searching to find out.
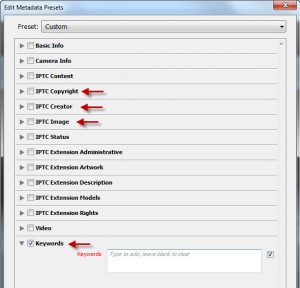 You don’t need to complete everything – total overkill. The ones you do want to complete are the following sections, and at the end of this article you’ll see a set of screenshots of the information I include.
