In my last blog post about adding copyright information to your dental photos as a way to deter online theft of your work, the tutorial covered how to use a Metadata Template in Adobe Photoshop Lightroom to add identifying information to every photo. This embedded information can be read by anyone who knows how to look; if they know, they may also know how to remove it (takes a little work), but a thief will probably move on to easier-to-steal photos instead of doing the extra work. Another step you can take, also easy to do in Lightroom, is to add a Watermark, and that’s what this tutorial will cover.
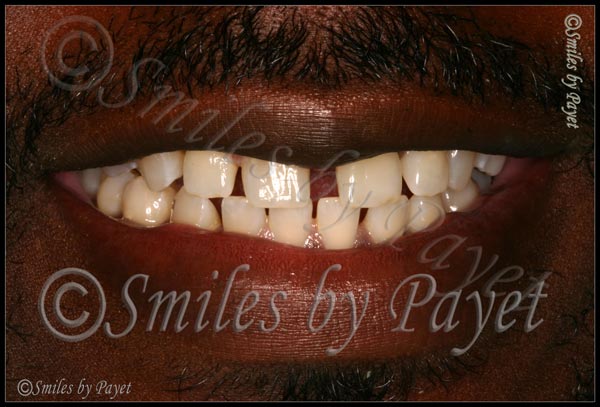
Why Use a Watermark?
As seen in the example above, a watermark is typically a logo, symbol, or other mark that is placed somewhere on a photos that identifies it as belonging to someone, in this case, anyone seeing this photo knows that “Smiles by Payet” has copyrighted this image. It’s pretty easy to see, and again, it may act as a deterrent to online theft, because anyone wanting to use it to represent their own work would have to laboriously edit the entire logo out of the photo. Yes, I overdid it just a teensy little bit to make my point, and no, I would never ruin a photo to this extent with such tasteless work, but you get the point.
The tricky part in using a watermark, as you can probably see, has to do with 3 issues:
- Placement
- Size
- Opacity
While the point of a watermark is to protect your image, the point of your image is to showcase your work to existing or potential patients, with the goal that they will be impressed and call or schedule their treatment with you, not someone else. Poor placement of a watermark can ruin the whole image and defeat the real purpose of the image, so please…..be tasteful about it.
Watermark Size, Placement, and Opacity
For maximum protection (my opinion only), I recommend creating a very large watermark that can be placed directly across the middle of the photo, but making it highly translucent, thereby not covering up what you want to show. Doing so makes removal far more difficult for anyone wanting to steal your photo, unless they are highly skilled in Photoshop, and you generally can still see the photo well.
For the most tasteful protection, but the least effective, a small but fully opaque watermark can be placed in a corner. It’s the least effective simply because it’s the easiest to remove, especially with the “Content-Aware Fill” and “Content-Aware Healing” tools available since Photoshop CS5 and now CS6, but if you don’t like the watermark obscuring the image, it’s still better than nothing.
Personally, I’m still experimenting on my own watermarks, and if you want some of my different tries, check out some photos on both my Charlotte dentist office website and my personal photography website:
Smiles by Payet Dentistry
CDPayet Photography
How to Create a Watermark in Lightroom
In Lightroom, you can create either a Text or Graphical Watermark; as a general rule, I suggest the Text Watermark for one main reason: it’s a LOT EASIER. And here’s just how easy it is to create with 2 easy-to-understand screenshots.
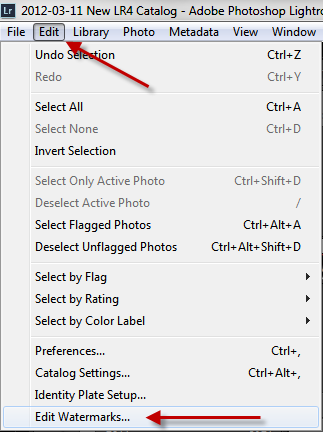 Step 1: Go to the Edit option on the top menu, then scroll down to “Edit Watermarks”
Step 2: At the lower left is where you’ll type in the text for your watermark. The easiest way to get that (C) symbol is to open MS Word, type in the left parenthesis – capital C – right parenthesis and it will automatically convert it for you. Then just copy/paste it into the text box.

Step 3: Experiment! Seriously! You can see all the options on the right side – play around with them, see what you like, what you don’t like, and as you change things, you’ll see the preview change instantly. Change the text color – font – size – opacity – placement, etc.
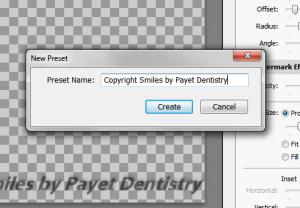 Step 4: Name Your Preset
And you’re done!
Coming up next – how to apply a watermark to your photos during the Export process.
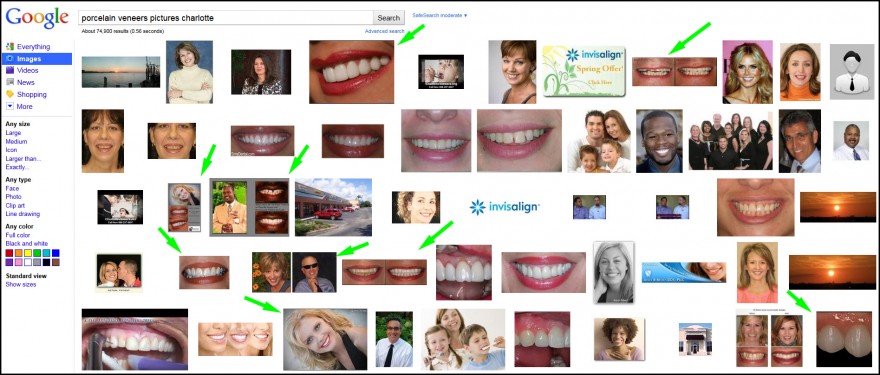
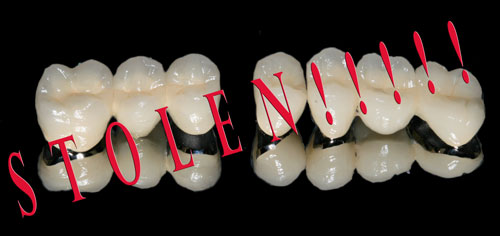 To my knowledge at this time, I’ve never had any of my online photos “stolen,” by which I mean no one has downloaded or “hot-linked” them for use on their on website or in other marketing media. That’s not to say it hasn’t happened, it just means I’ve never found any examples, because I don’t spend the time searching to find out.
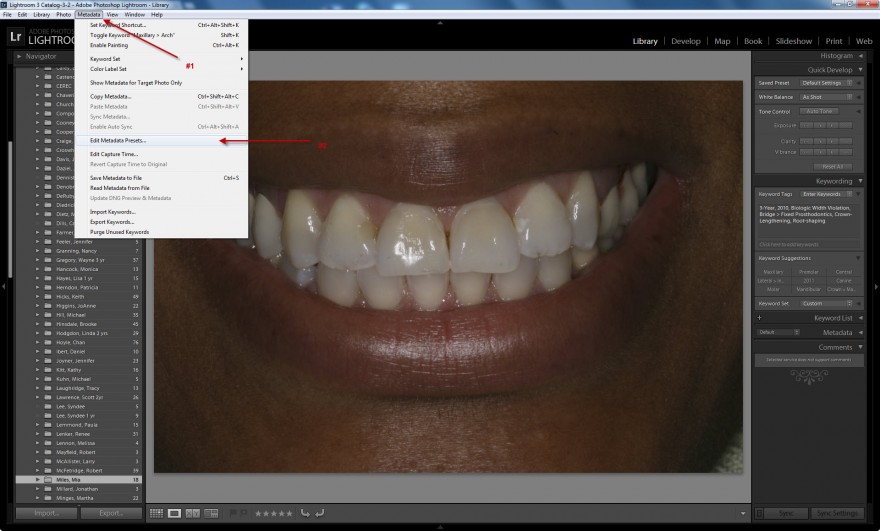
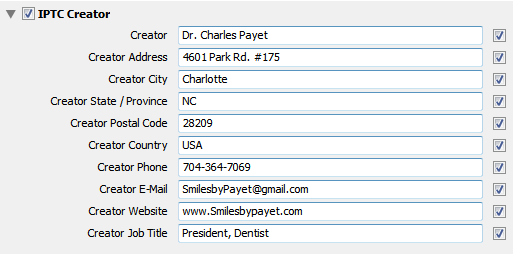
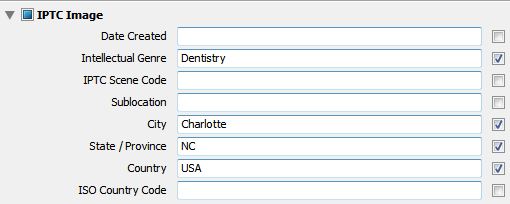
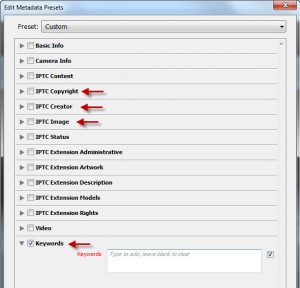 You don’t need to complete everything – total overkill. The ones you do want to complete are the following sections, and at the end of this article you’ll see a set of screenshots of the information I include.
